Union-Admin
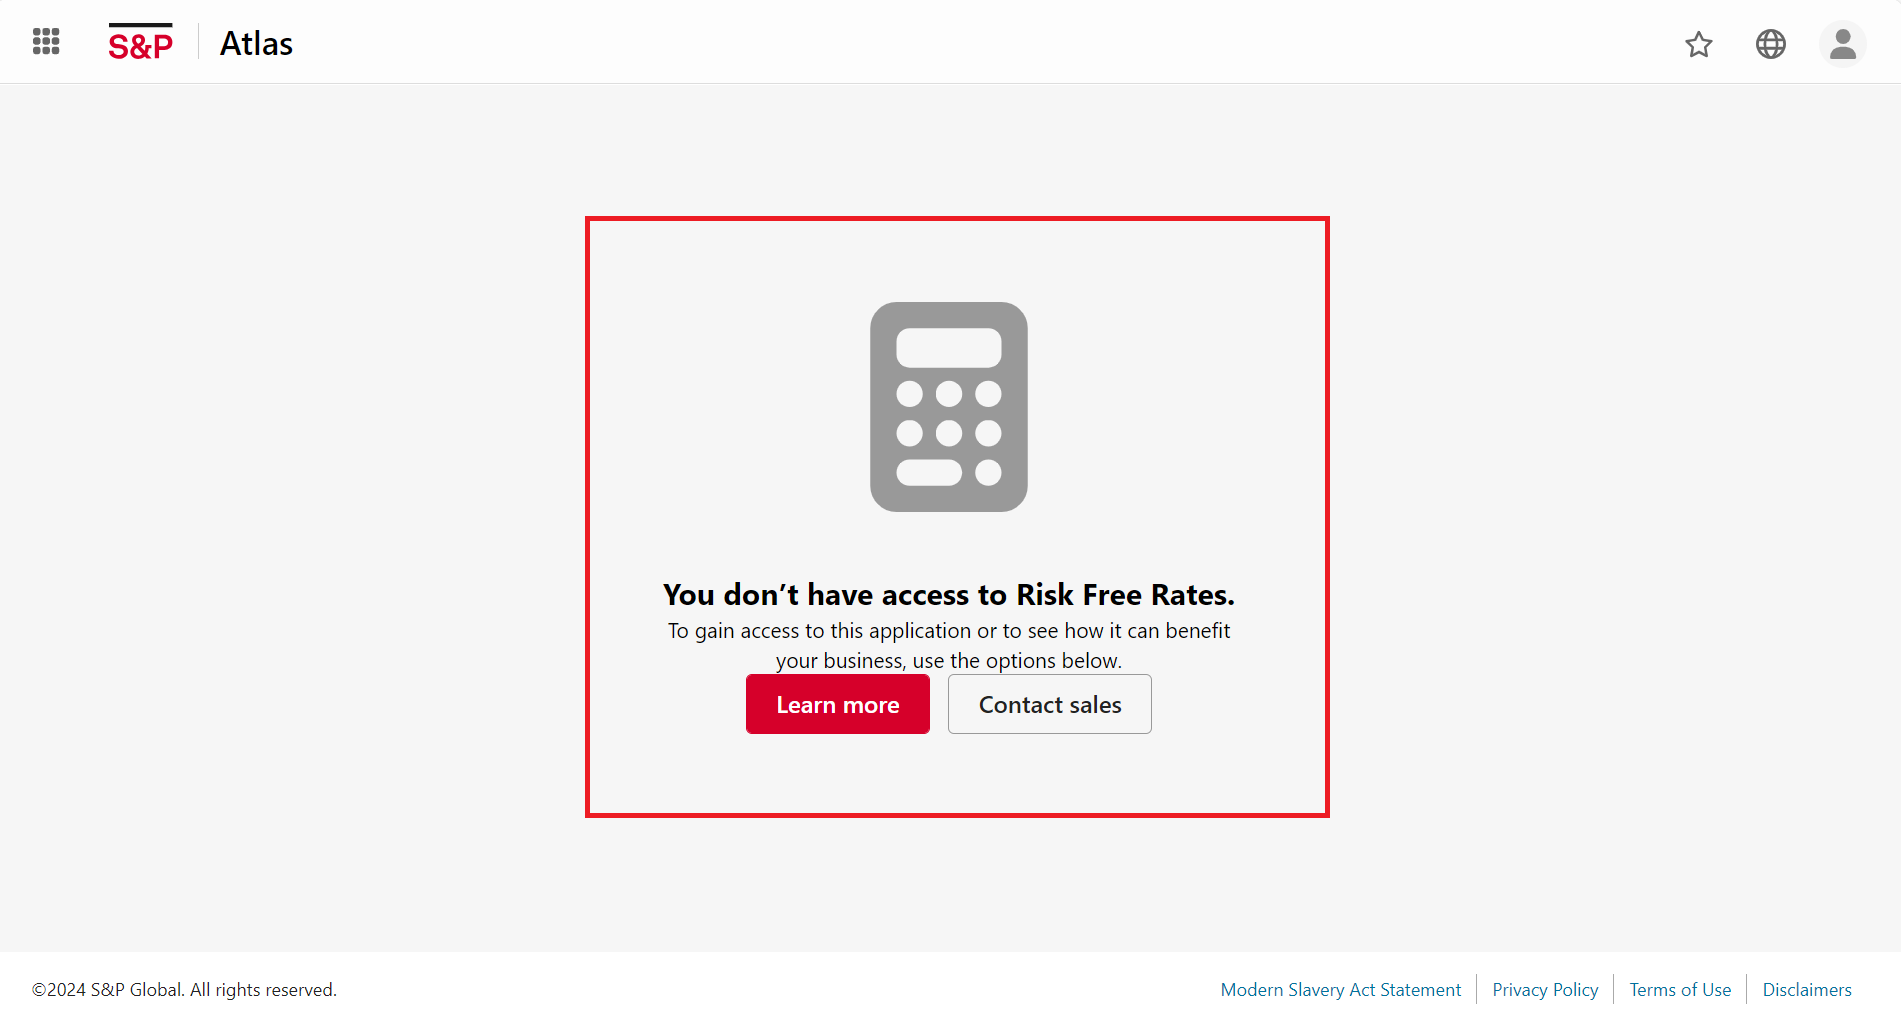
Initially, when the user tries to access the RFR, the system treats it as an unauthorized access and the user is prompted with an Access Denied Message.
To use the RFR, the user firstly has to be added as a permissioned user in the Union Admin.
Steps to create a new permissioned user
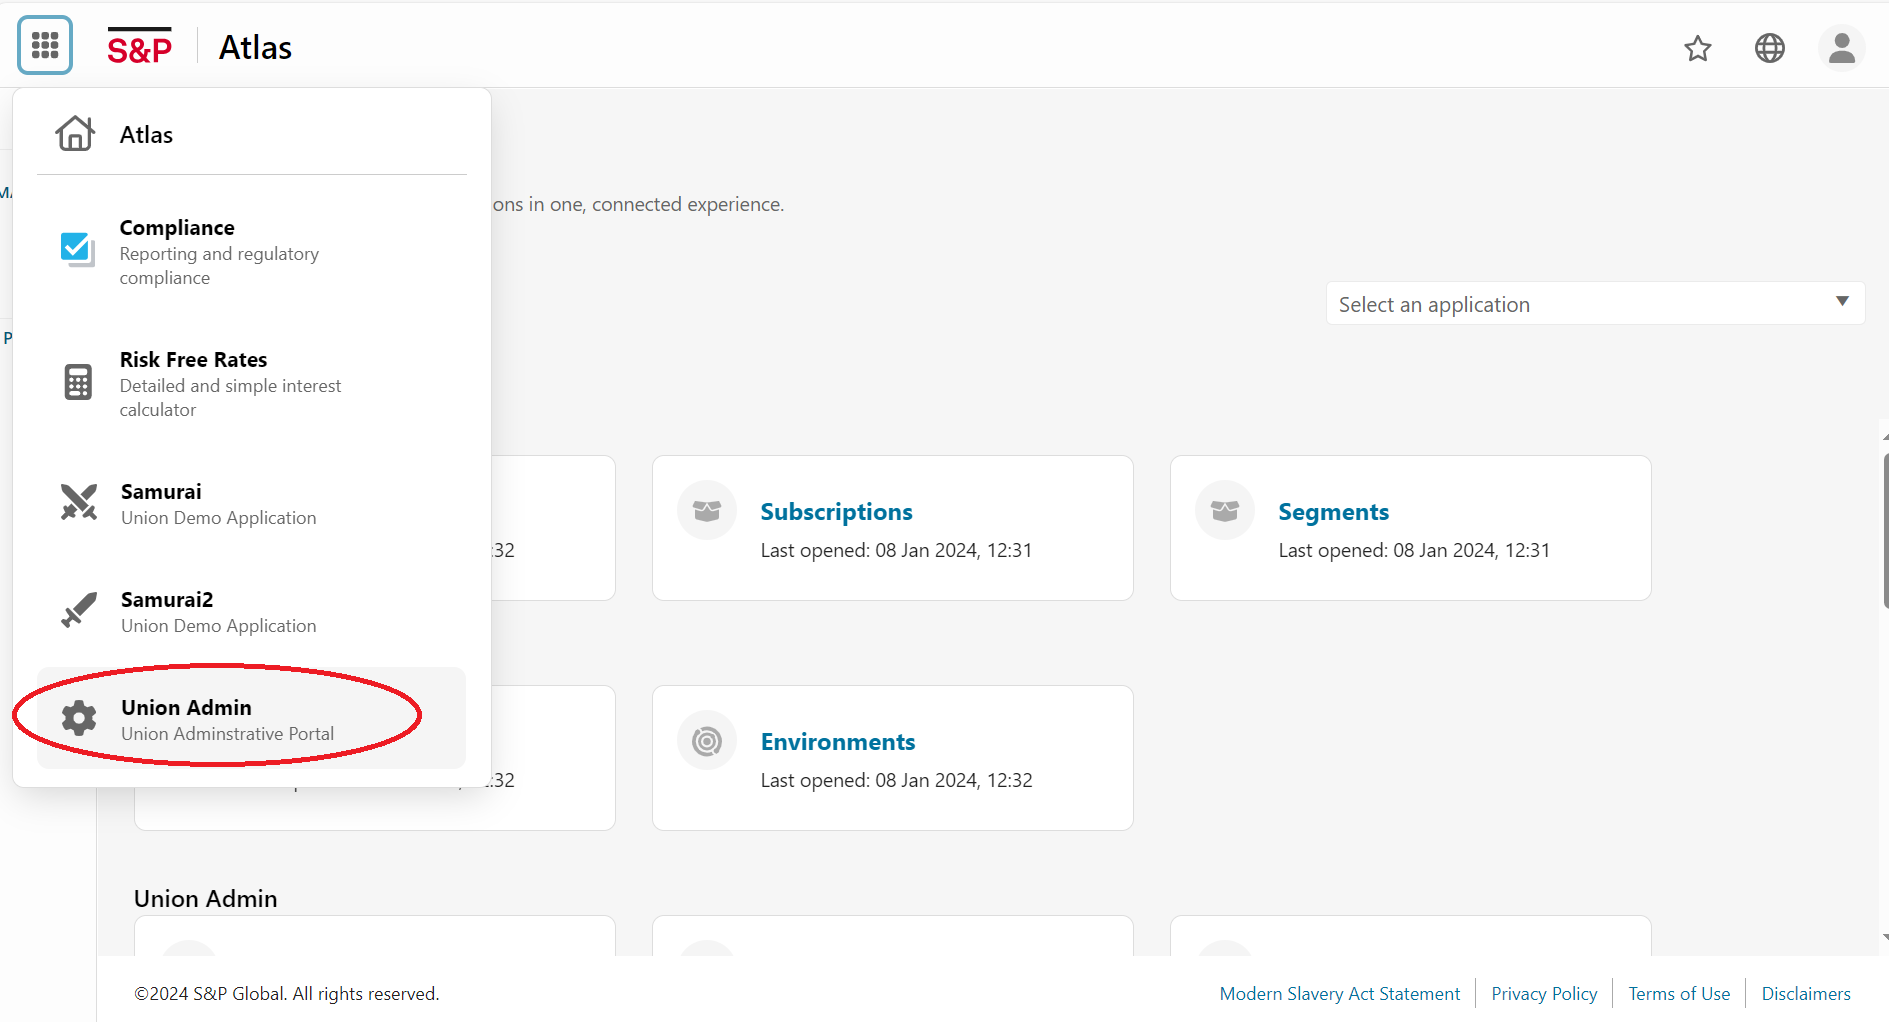
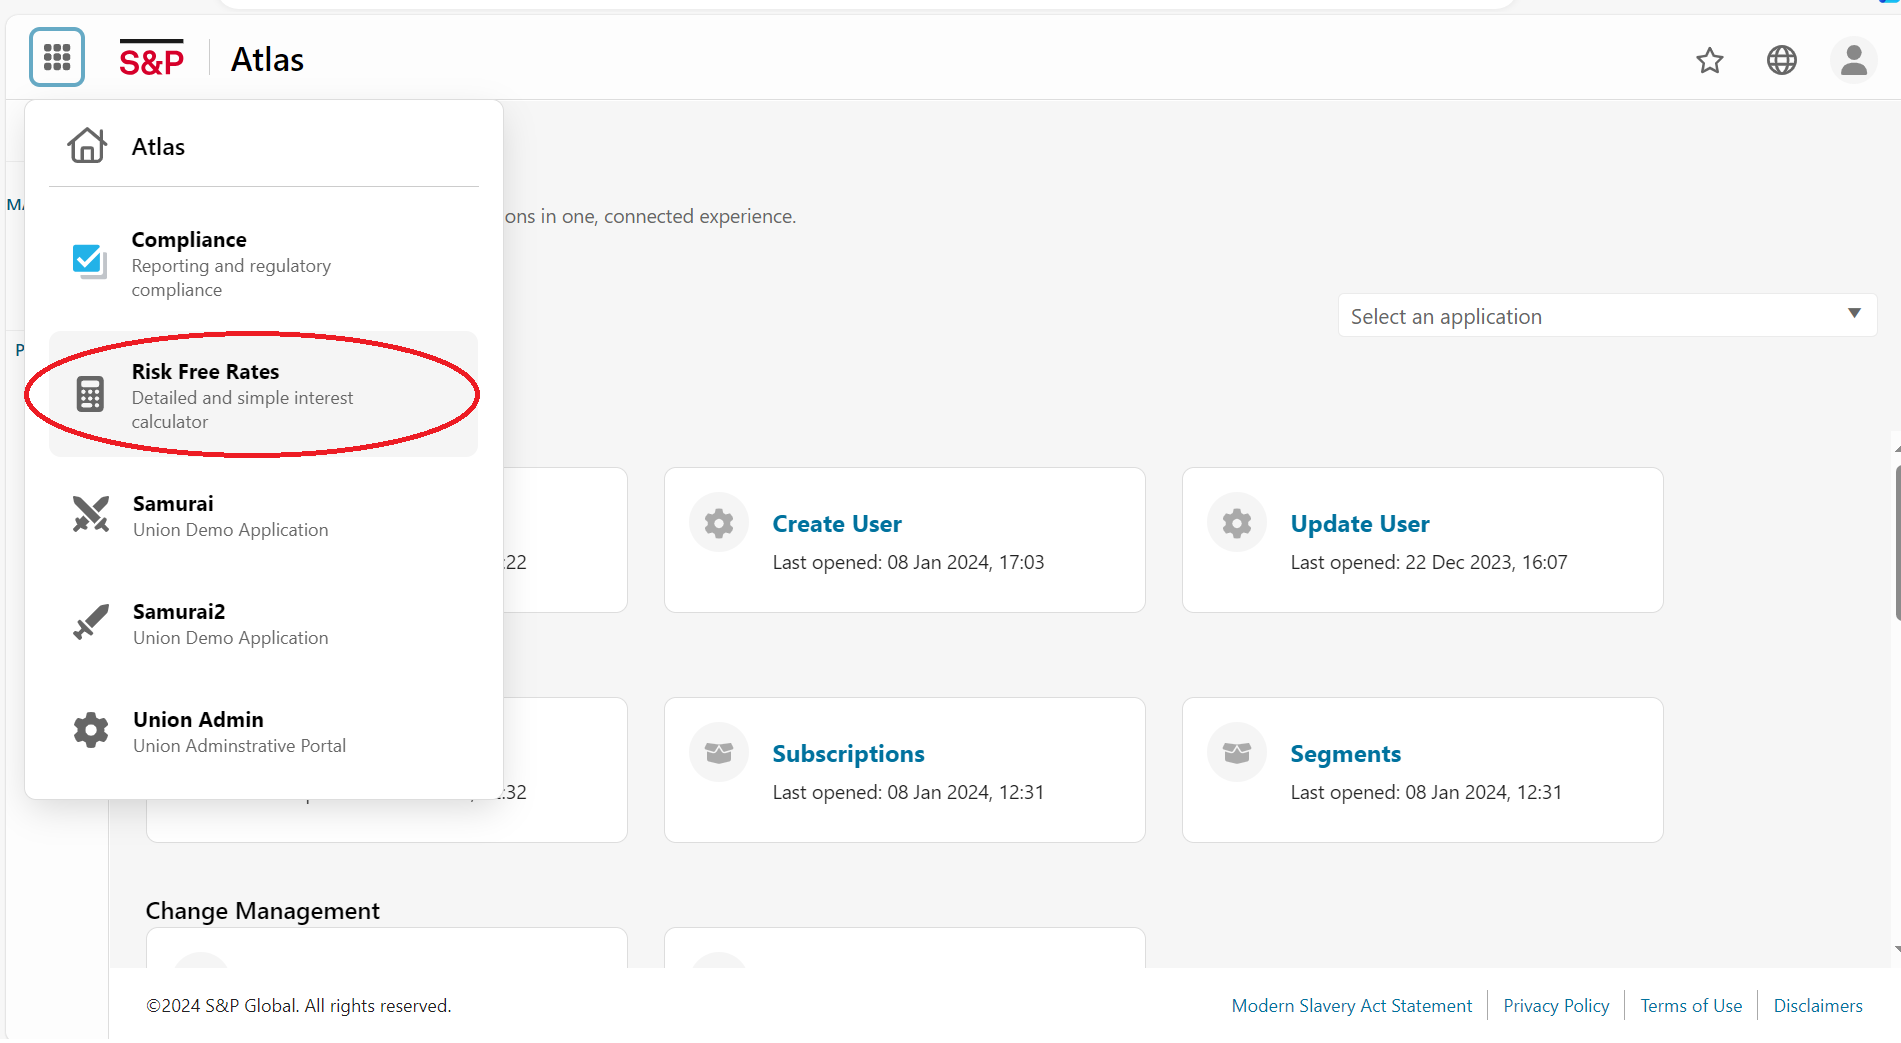
• Navigate to the top-left corner of the window and click the dialpad icon. Select Union Admin and click on it.
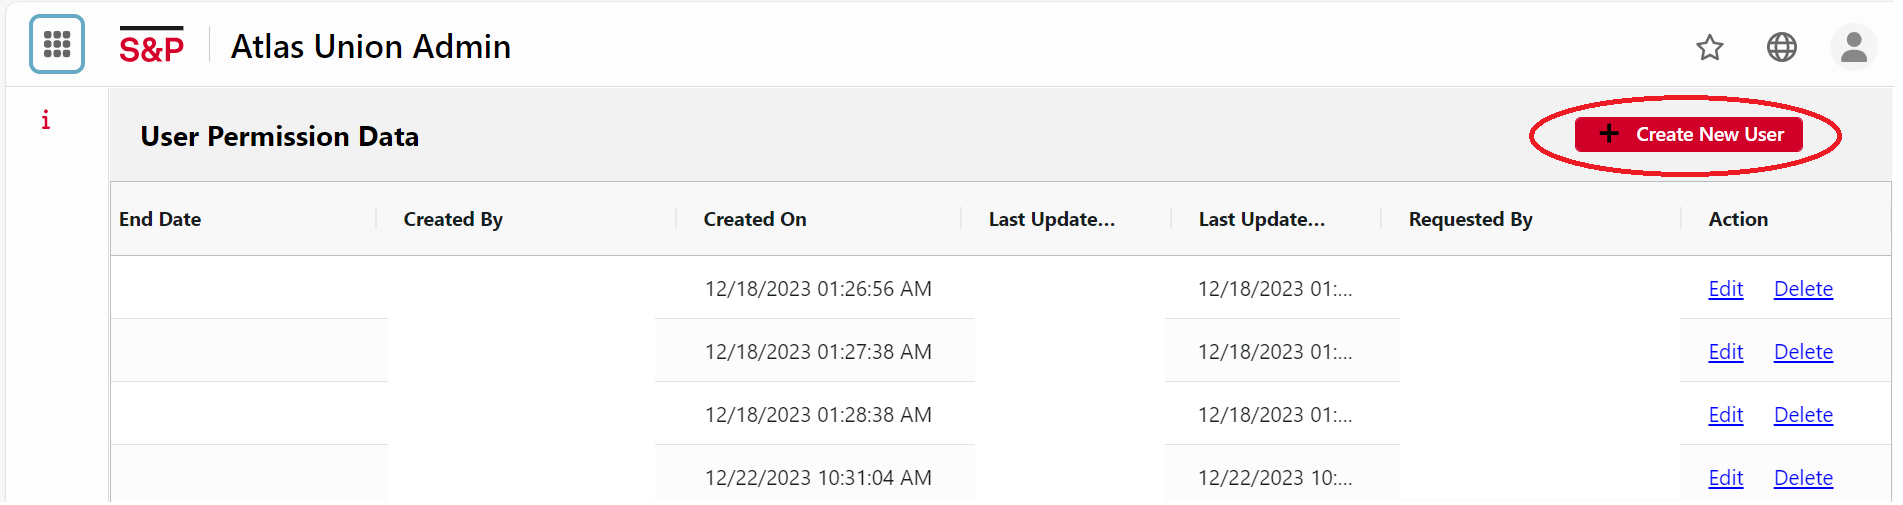
• The Union Admin home screen appears, displaying data for all users with permissions. Click the Create New User button on the right side of the screen to create a new user.
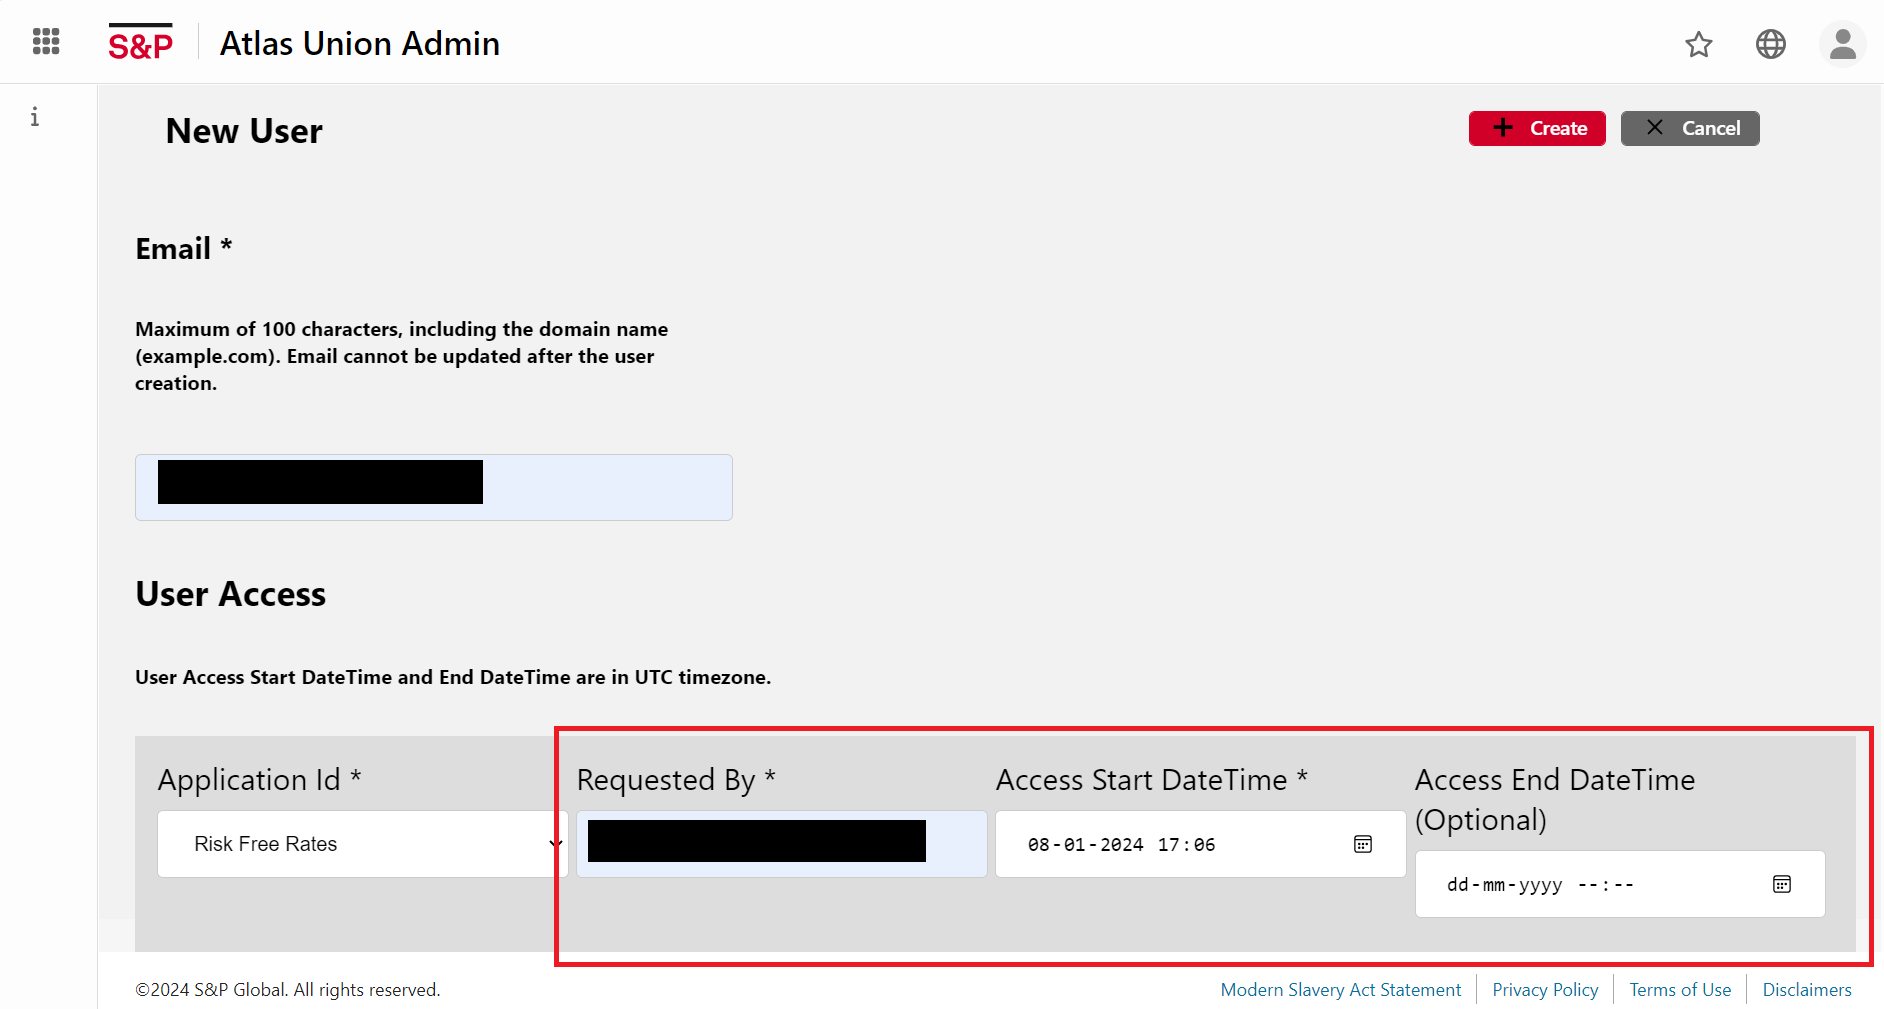
• Enter the user’s email address, which will serve as the new user’s id. The length of the email, including the domain (e.g - abc.com), should NOT exceed 100 characters.
The email once entered, cannot be changed.

• Fill in the Requester’s email address in the User Access section. Enter the Access Start DateTime stating when you want to gain access (time in UTC).
Optional: The Access End DateTime should be entered in UTC (Universal Time). If nothing else is stated, it is assumed to be a lifetime subscription.
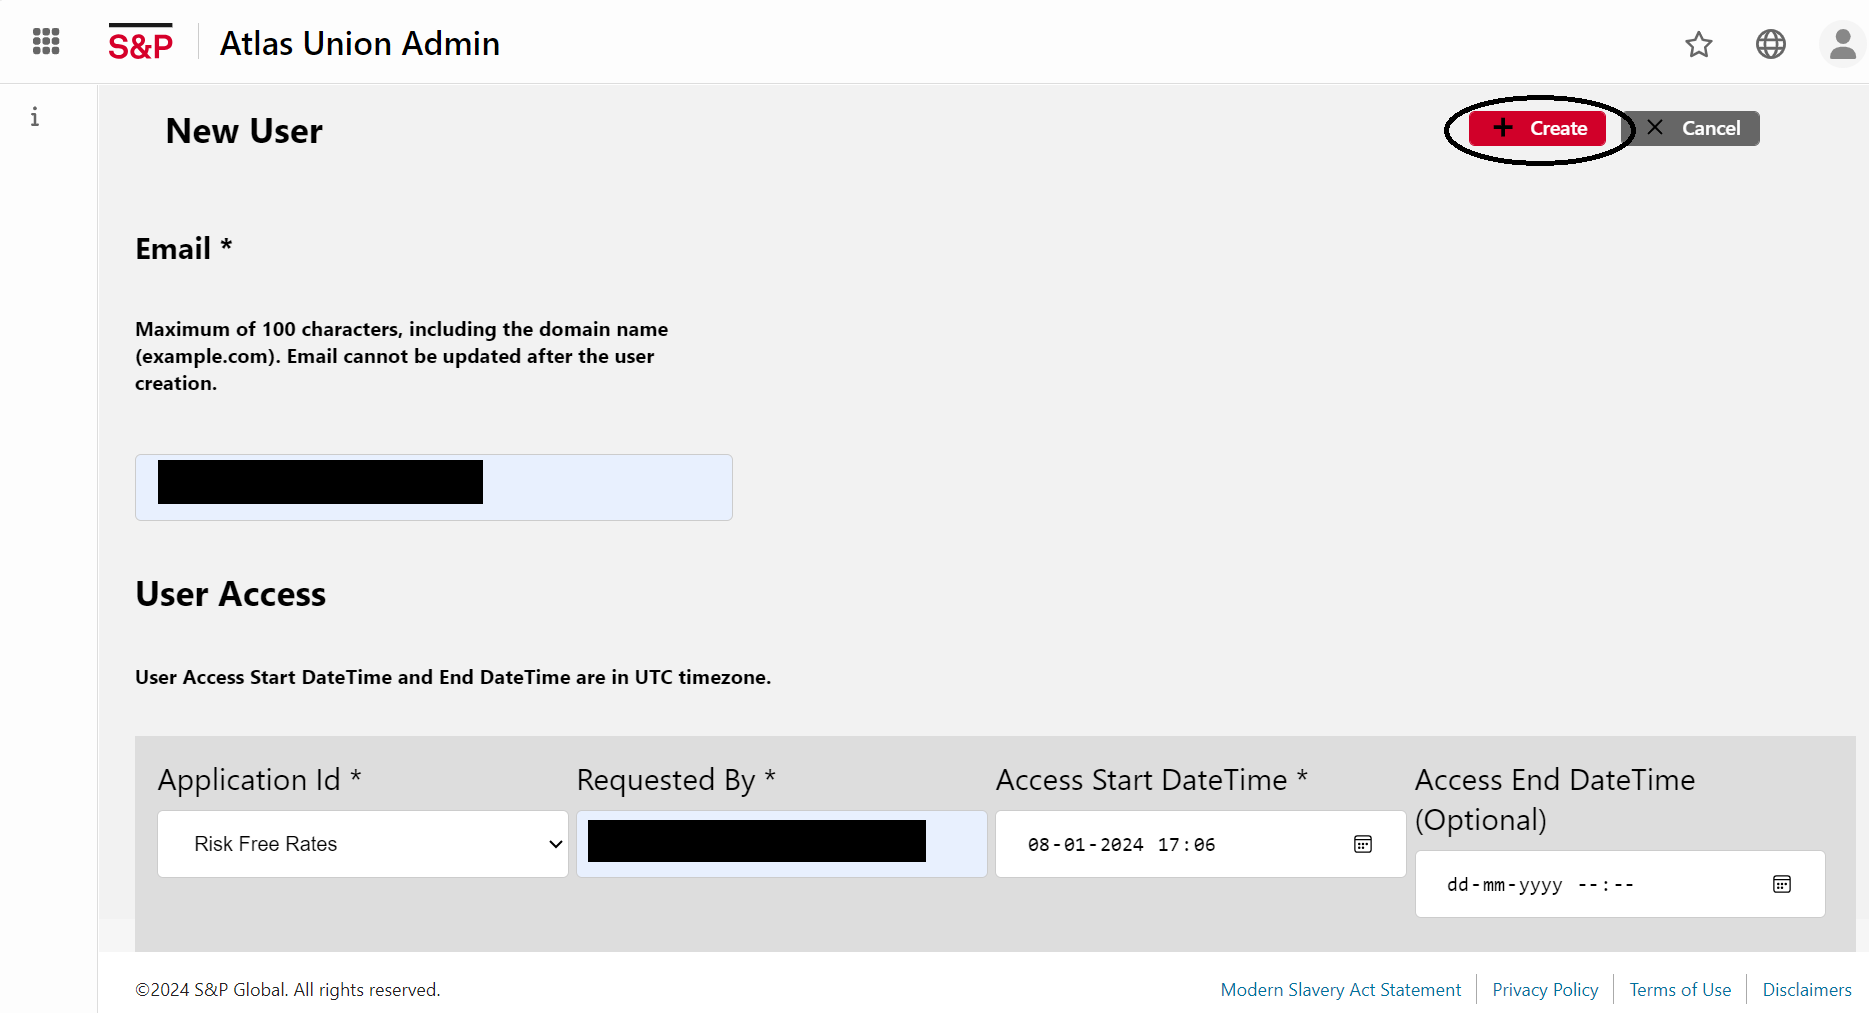
• Click on Create Button to add the new user to the permissioned users list. Else, to discard the form, click Cancel.
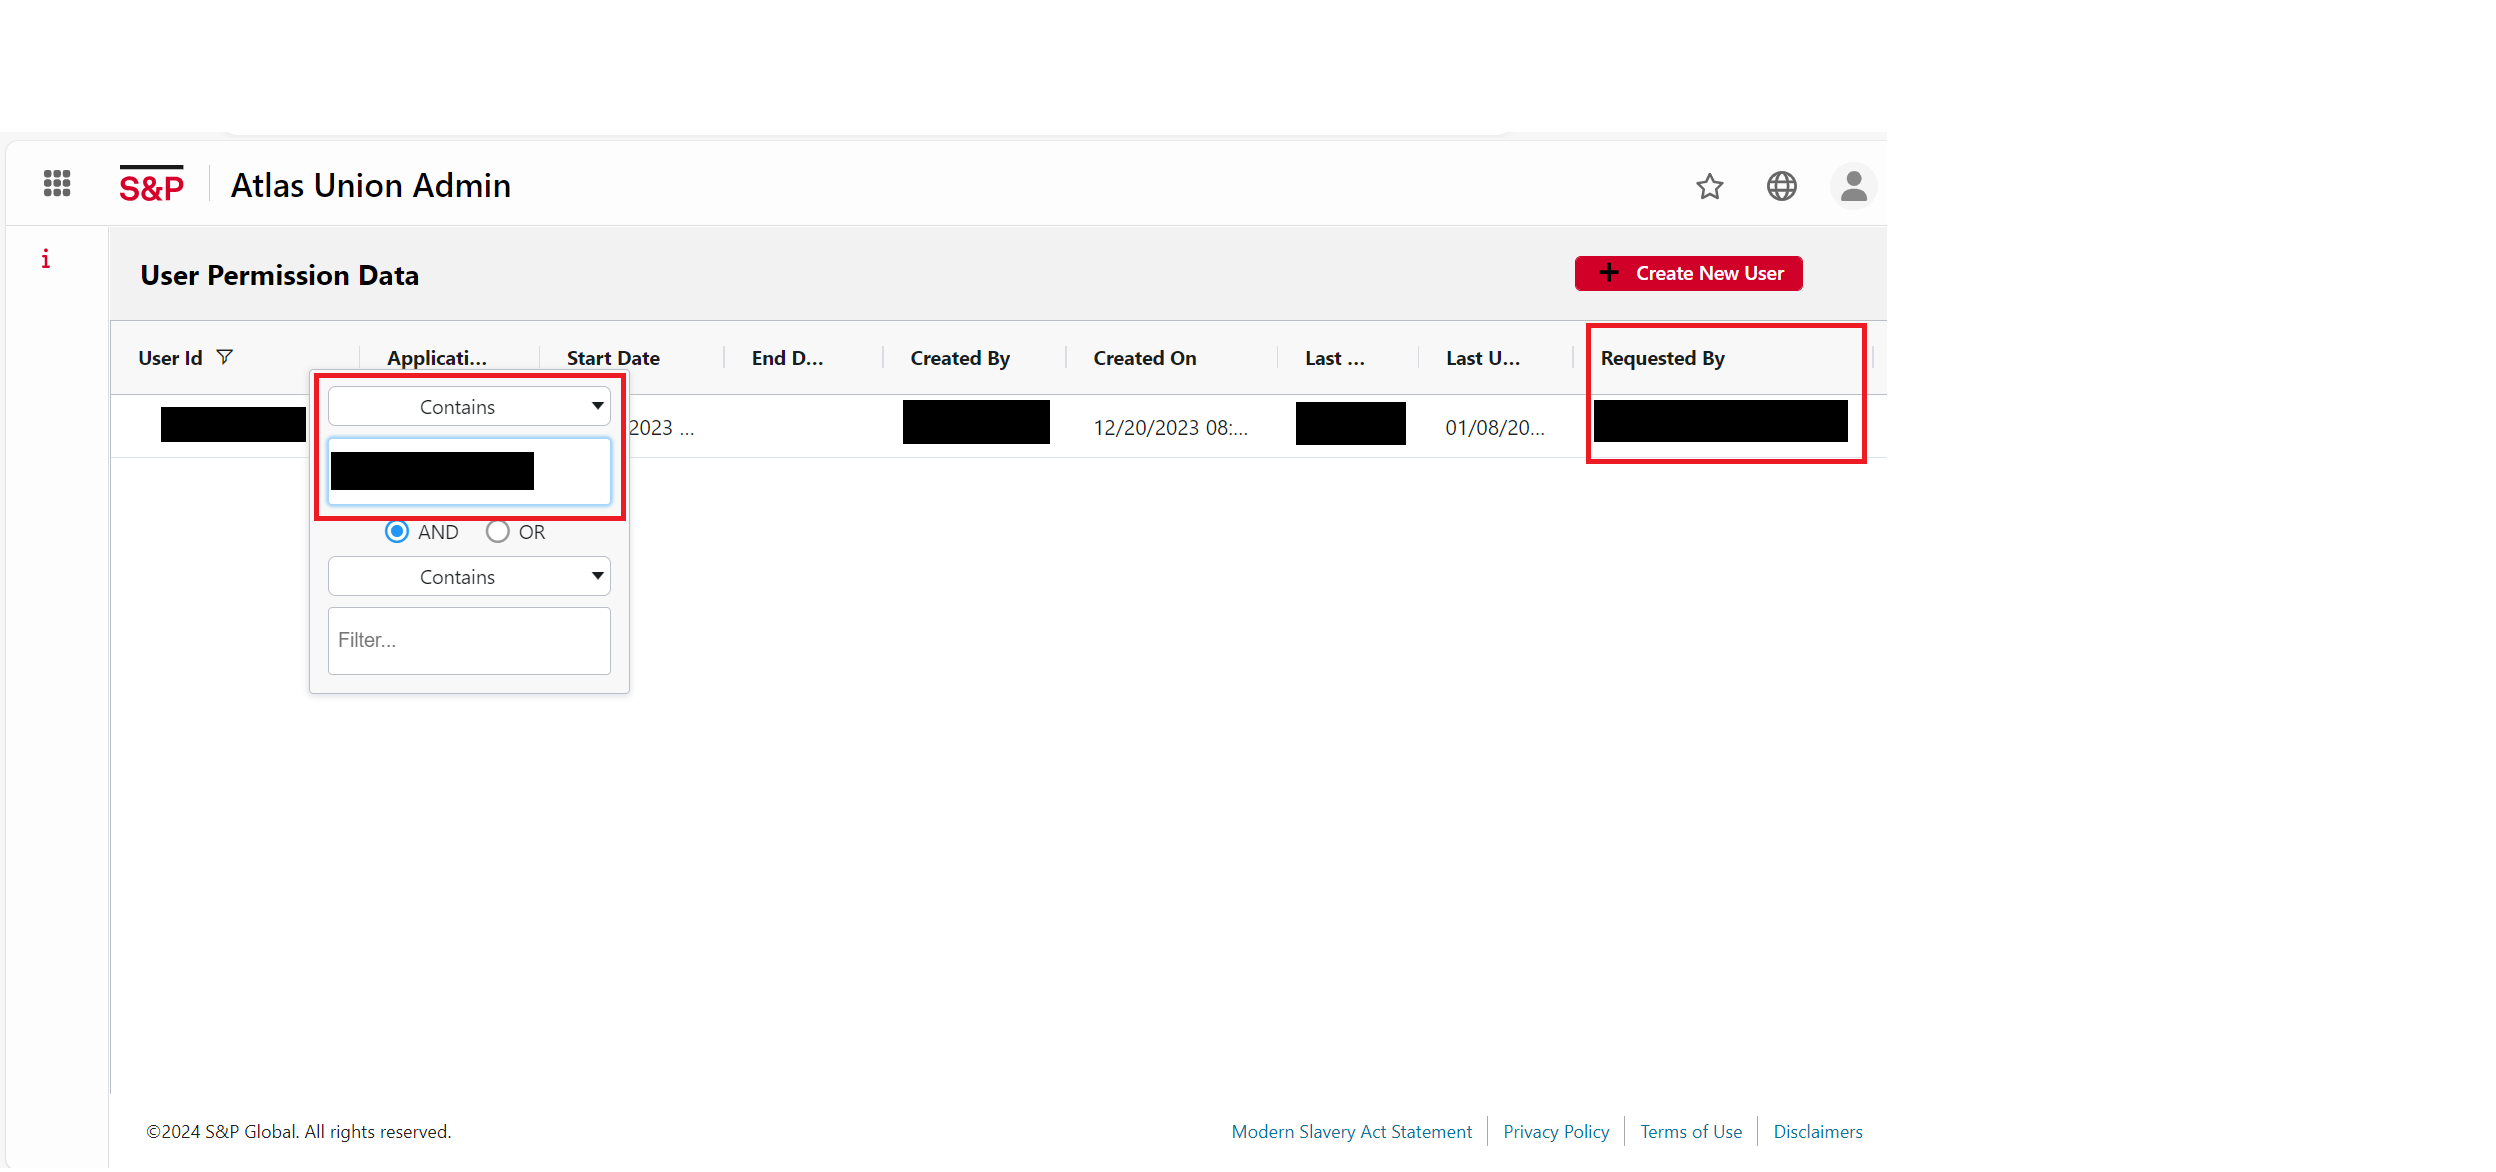
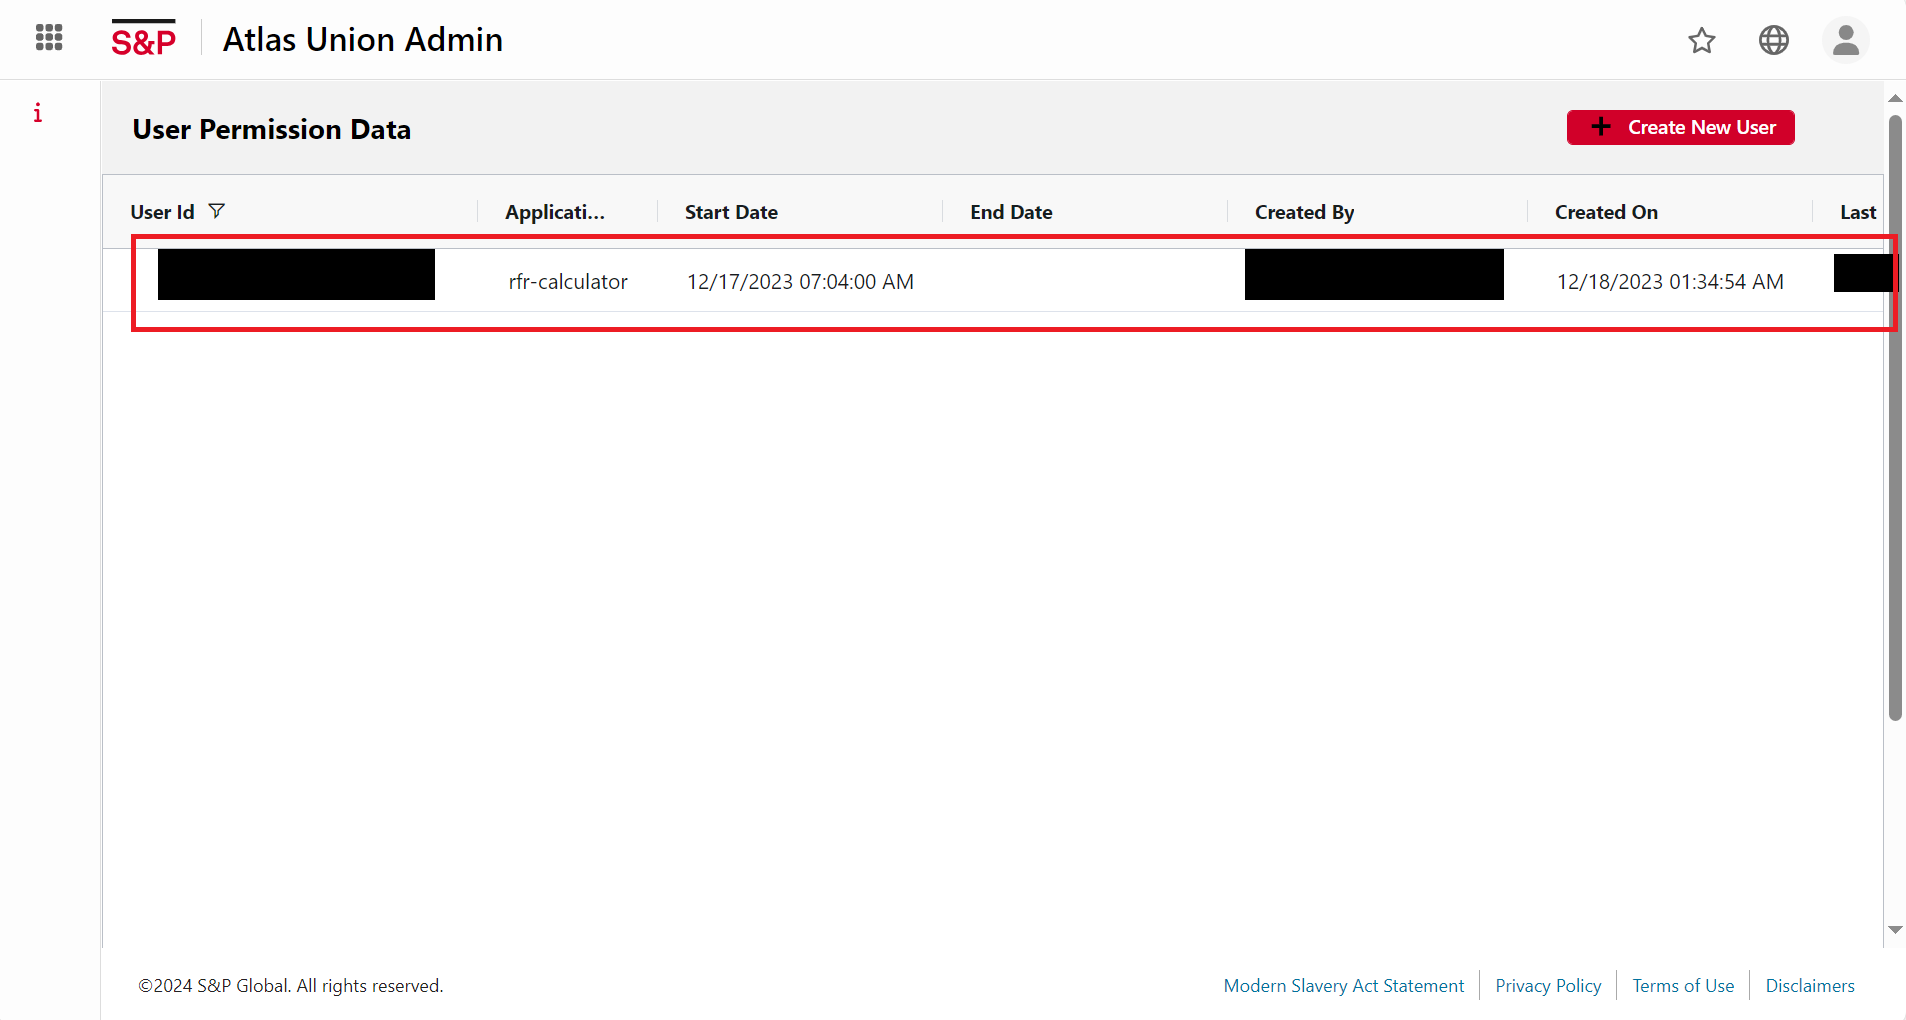
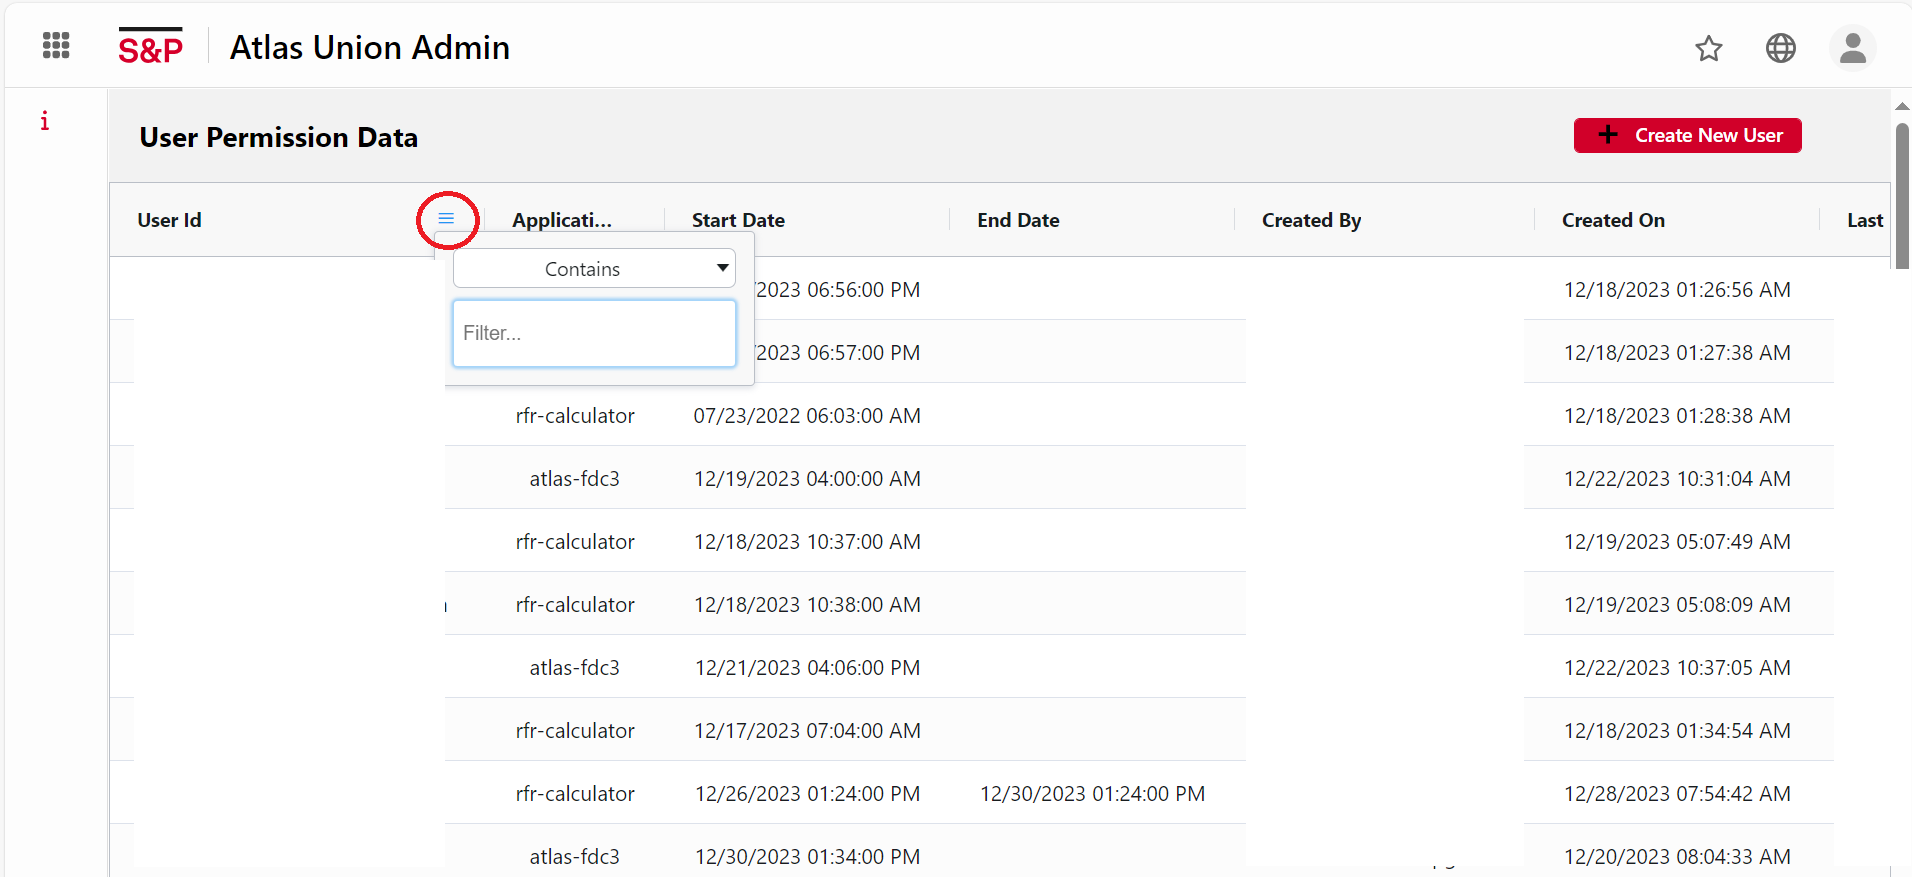
• The new user has been successfully added to the User Permission Data list. Click the Filter Button (=) in the right corner of the User id column to look for the user.
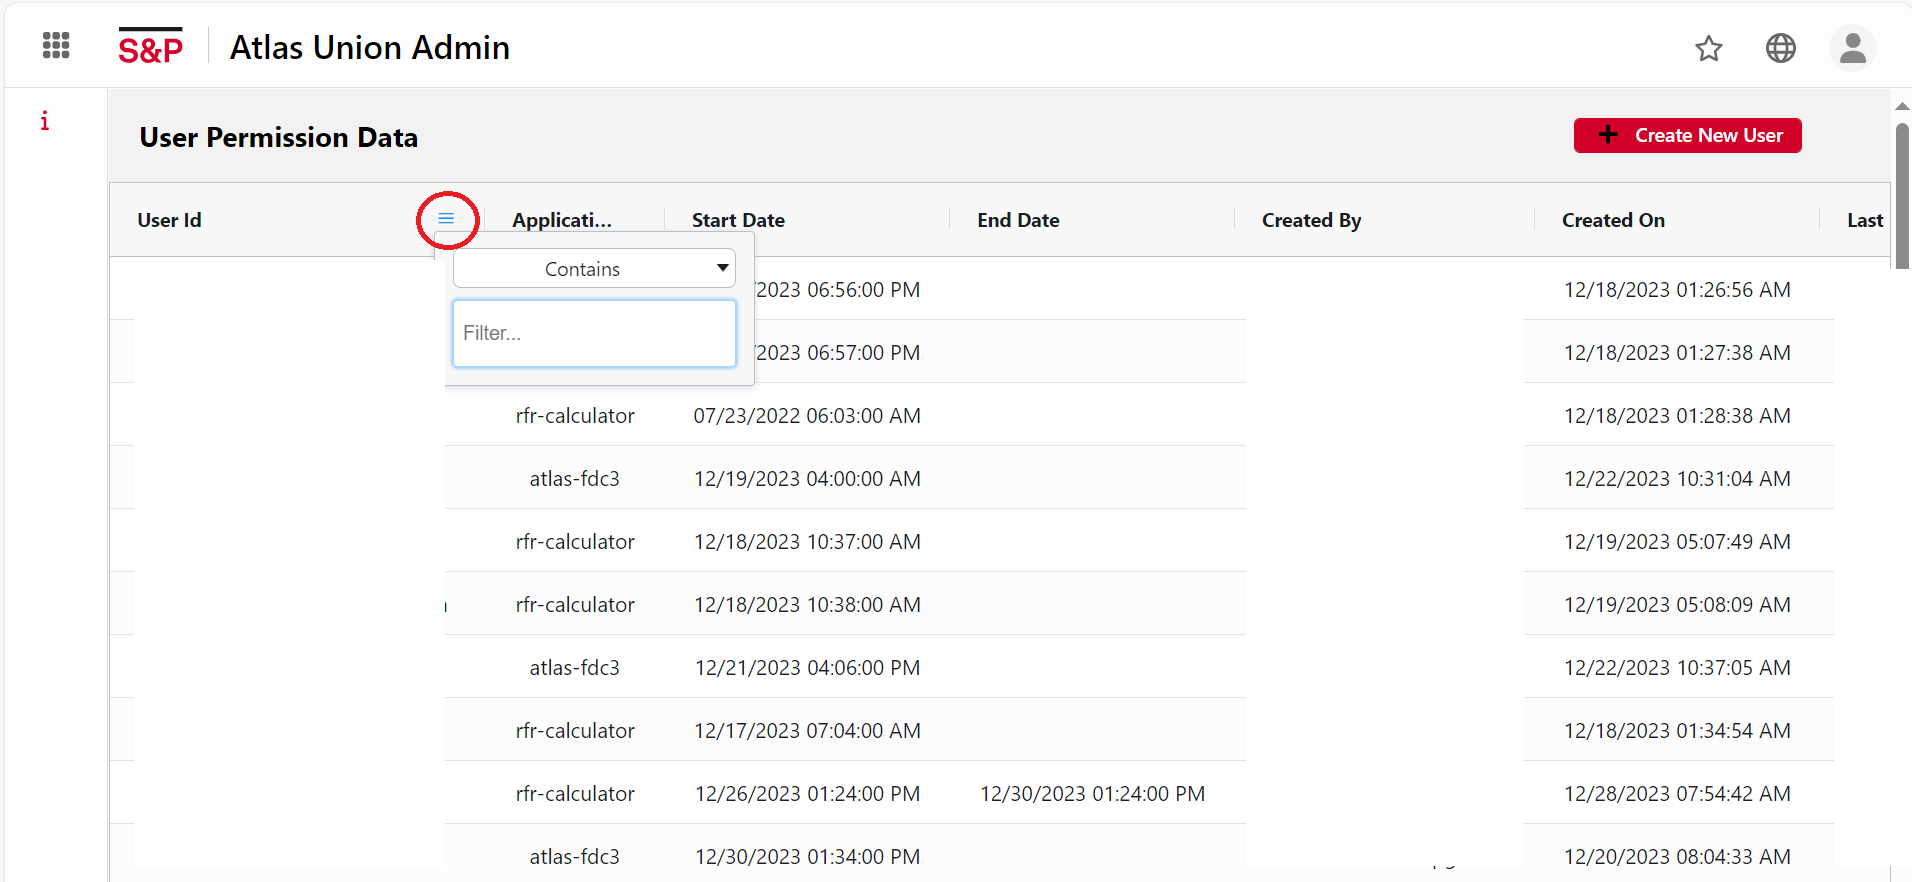
• Type the user’s email address into the search box and press enter. Only records that contain the specified user id are displayed in the list.
• The user can access the RFR after being added to the User Permission Data list. Navigate to the top-left corner of the screen and select Risk Free Rates.
• The RFR homepage opens and can be used thereafter.

Steps to delete an existing permissioned user
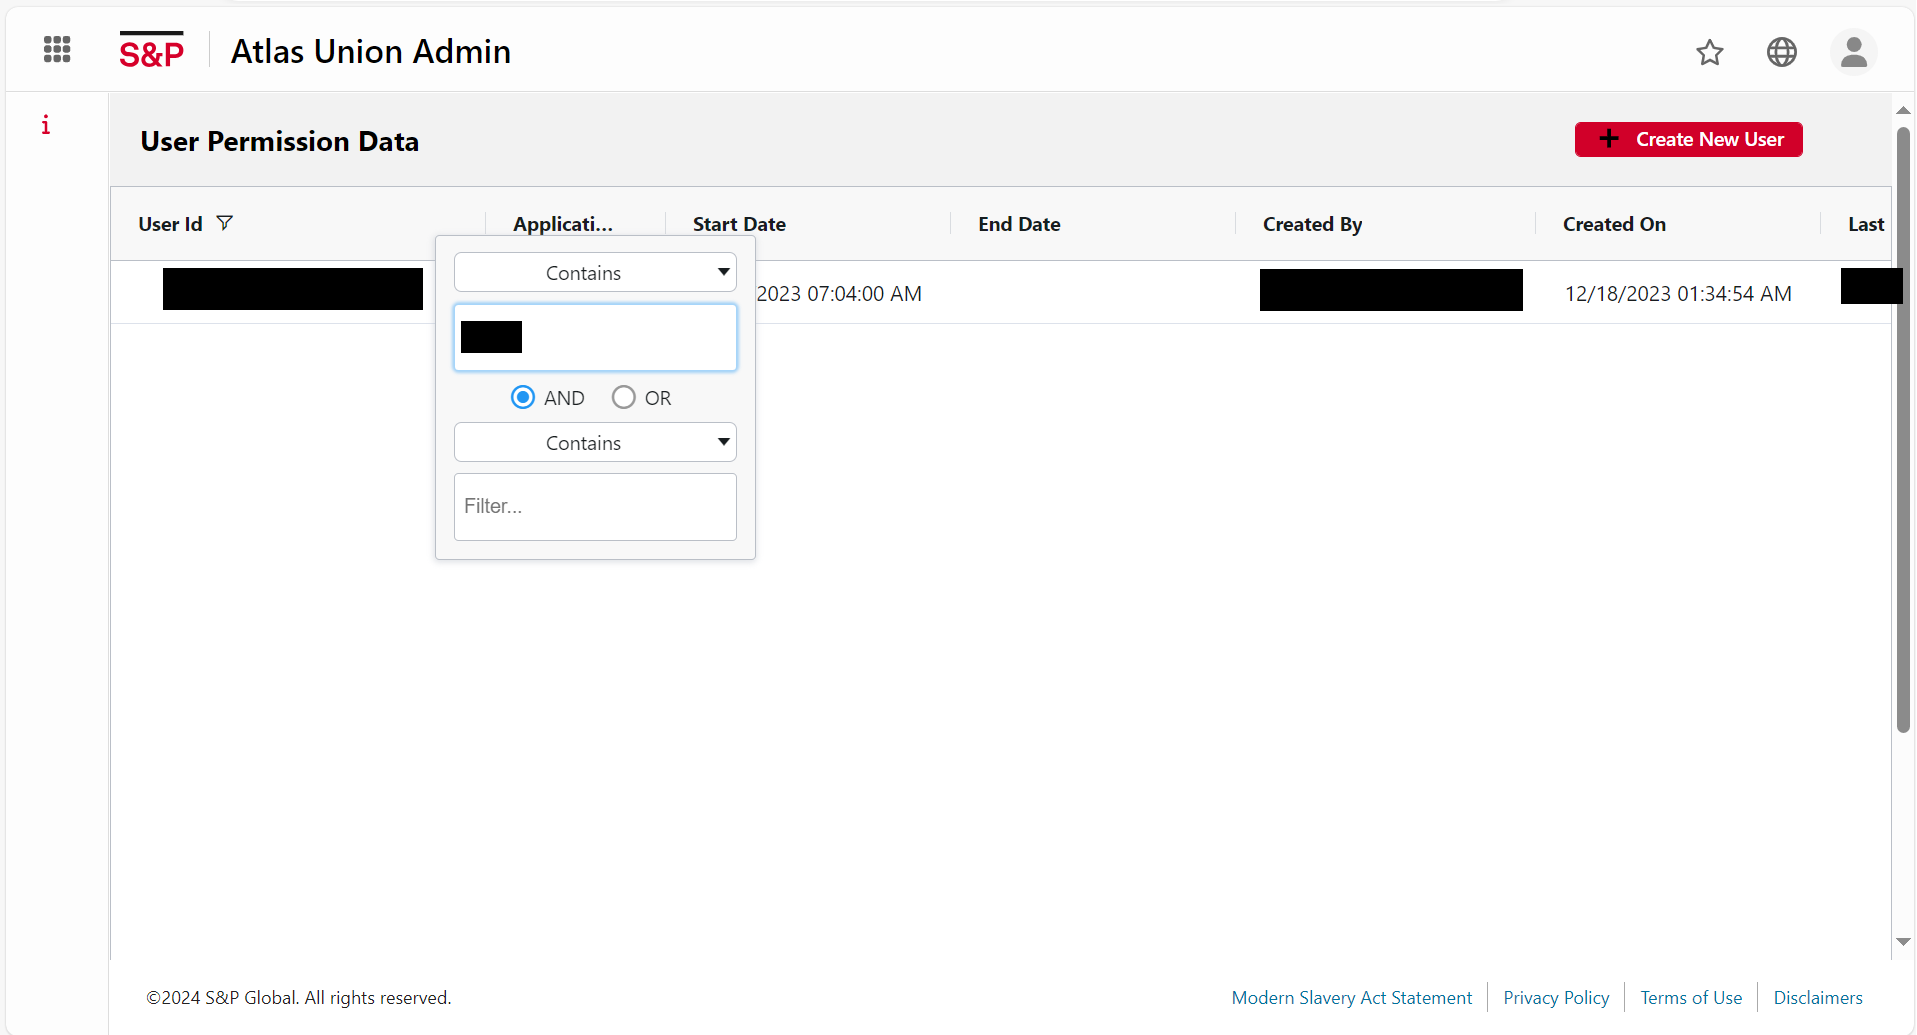
• Click on the Filter Button present to the right of the User id column and type in the User id.
• Enter the User id you want to search for, in the search box given. The user record for the User id supplied in the box is displayed once the list has been filtered.
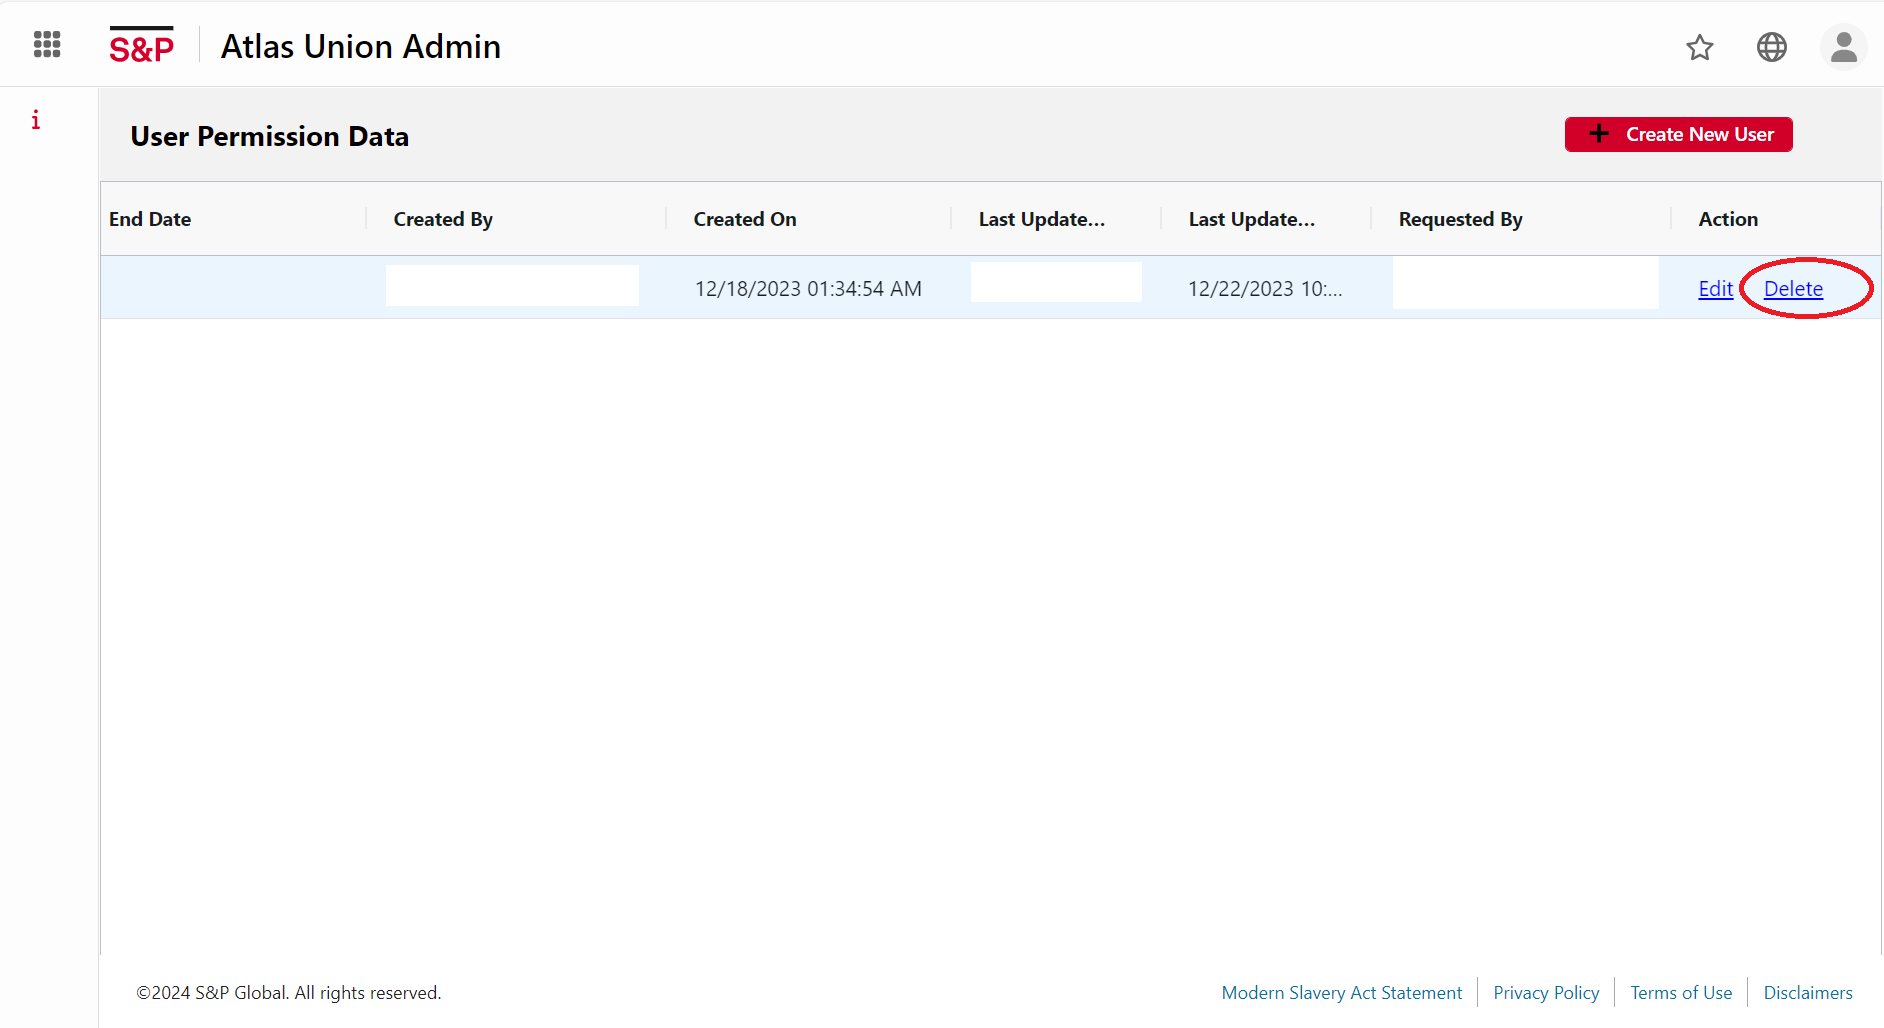
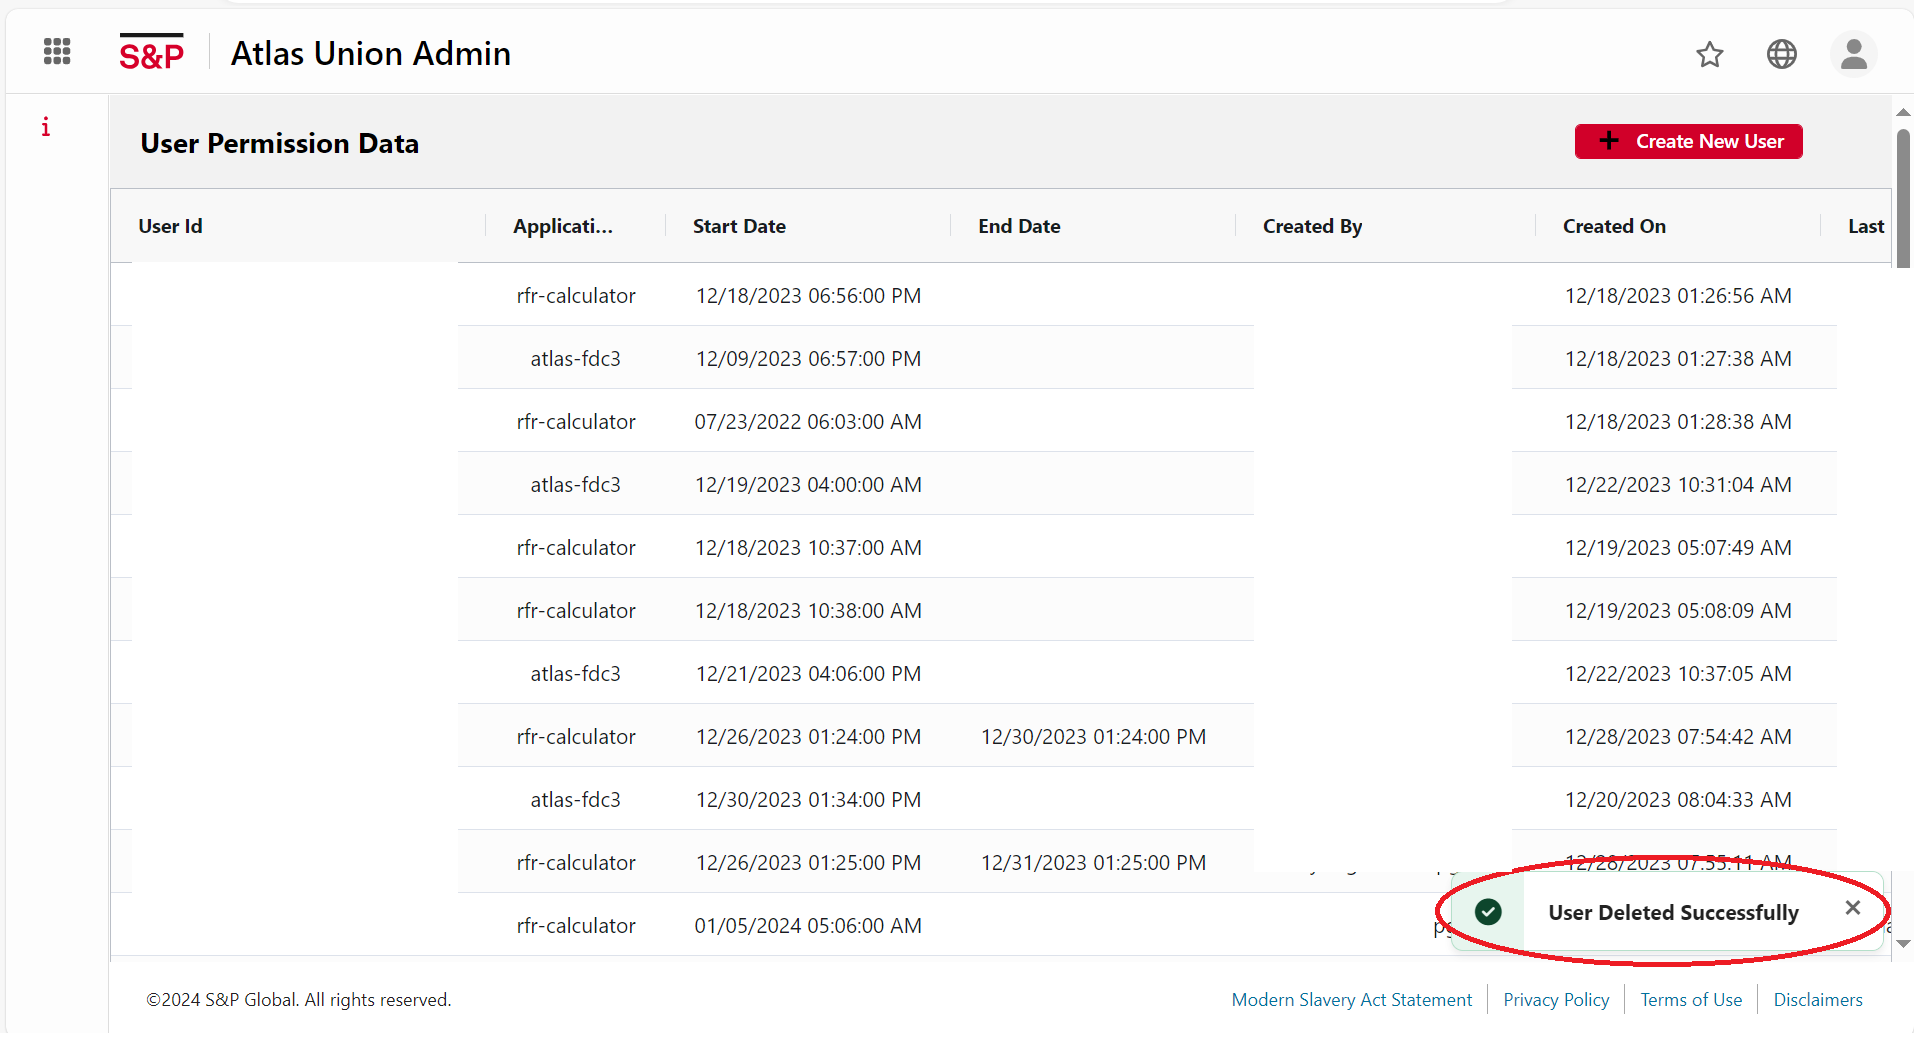
• Scroll to the extreme right of the record and click on the Delete Button. The record will get deleted from the list.
Steps to edit user details of an existing permissioned user
• Click on the filter button on the right of the User id column and enter the User id you want to search for, in the search box given. The user record for the User id supplied in the box is displayed once the list has been filtered.

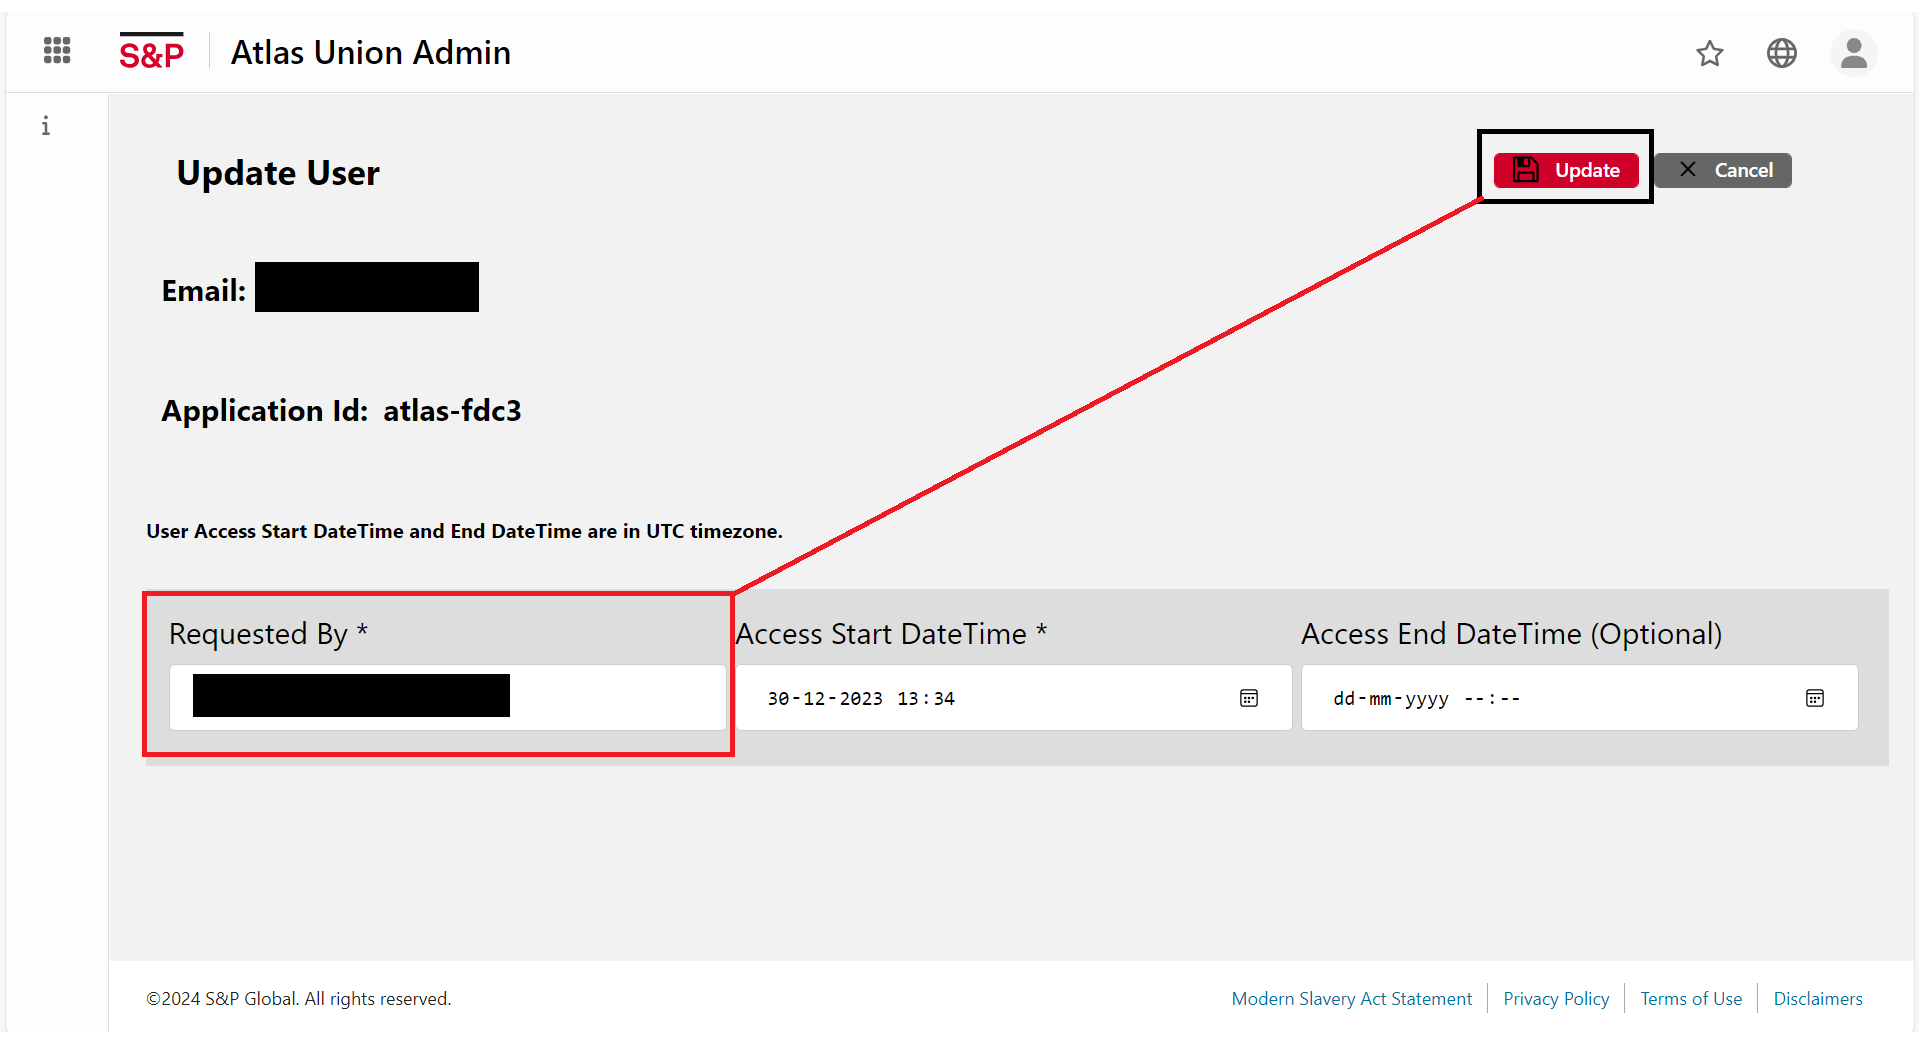
• Scroll to the extreme right of the record and click on the Edit Button.

• Make the necessary changes and click on the Update Button. Click Cancel to discard any changes.
• In the column filter, type the User id to see the changes. The changes were successfully implemented.